Vegan Salted Caramel Nice Cream

Dear friends,

I haven’t posted many recipes here. My website and social media posts are all about yoga, wellbeing, happiness and every time I make a healthy yummy treat I feel that I MUST share it with you. No surprise it’s another salted caramel flavour and yes, I’m addicted and 3 out of 3 recipes here have a salted caramel component in it 😉

Another obvious reason to share the salted caramel nice cream recipe is that it is summer in Australia and I love gelato. However, most gelato and certainly supermarket ice creams are very high in sugar, especially the salted caramel flavours. So here is a healthy, vegan, sugar free alternative for you. Try it and send me your feedback if you love it as much as I do. Ah….and it’s super easy and cheap to make too.

lifebalanceproject_saltedcaramel_vegan_nicecream

Ingredients:

  • 2 frozen bananas (cut into pieces and freeze over night)
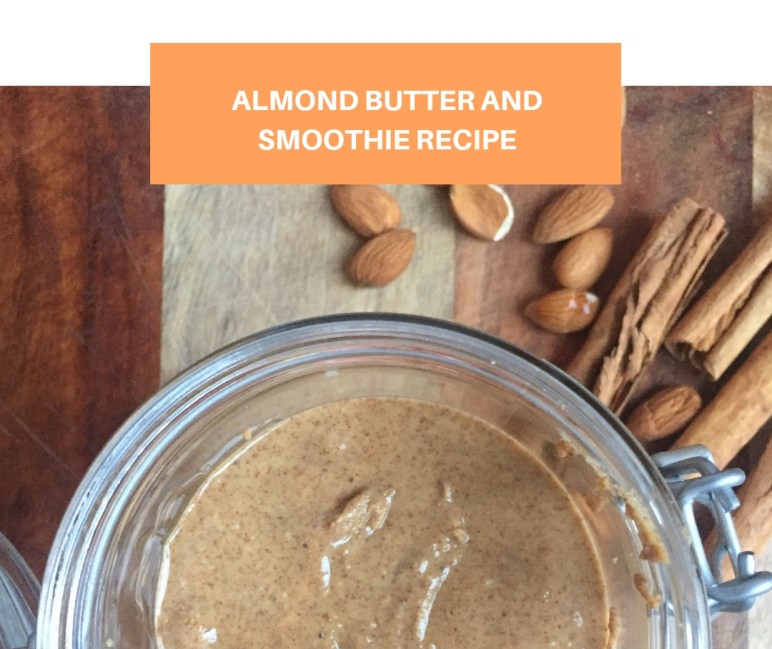
  • 1 tbsp tahini
  • 1/2 cup of nut milk (I use home made almond milk)
  • 1/2 tsp cinnamon powder
  • 1 pinch of salt
  • Vanilla extract

Put all the ingredients in a high speed blender (I’ve been using my Optimum 9400 blender for many years) or sometimes use a powerful stick blender (needs to be at least 400W, I use Russell Hobbs)

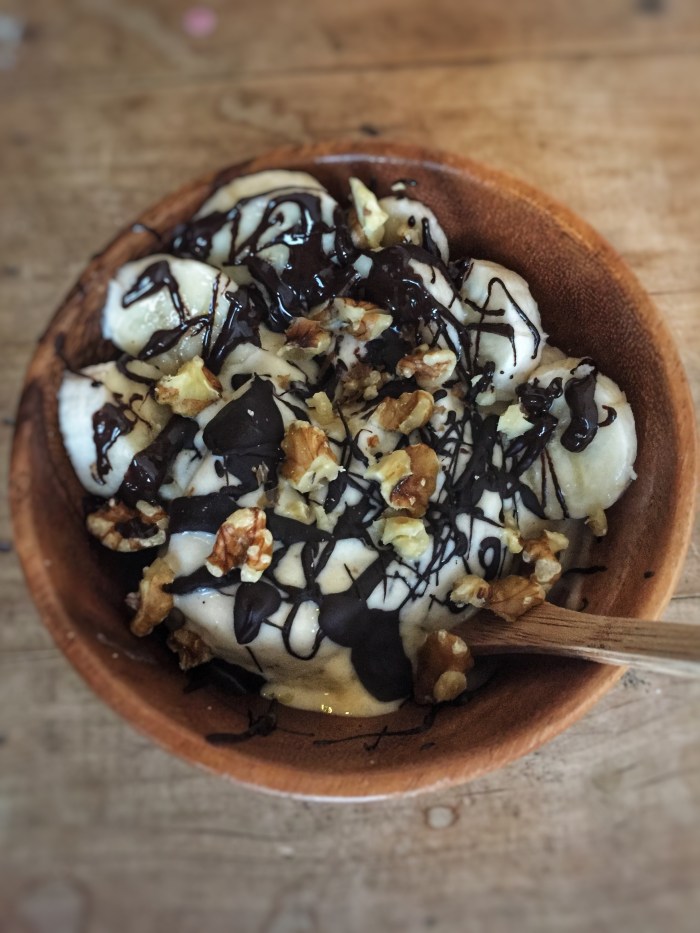
Blend until smooth, creamy and thick and add toppings to your liking and serve immediately. I added walnuts, banana slices and drizzled melted good quality vegan  dark chocolate over it. What’s not to love?

Tip: I use frozen bananas as a basis for my nice creams, instead of the salted caramel version, you can add fruit to the bananas, e.g. mango. I also tried  avocado nice cream once… stay tuned I’ll share the recipe soon.

Enjoy and stay healthy & happy and do more yoga 😉

Sandra ❤


Salted Caramel Bliss Balls

bliss balls

Salted caramel is probably one of my favourite flavours but I wanted to create a healthy snack and started to experiment. I found that the combination of dates and tahini create just the flavour I like, so here it is: I’m sharing my vegan and sugar-free recipe with you, no nasties but all the pleasure and taste.

You’ll need:

  • 1.5 cups of cashew nuts
  • 12  Medjool dates. You can can also use dried dates but you have to soak them in warm water for 2 hours. I find the taste is not quite as nice as Medjool dates, they have a nice caramel taste and are really soft.
  • 2 tbsp Tahini
  • Vanilla extract
  • 1/2 tsp Cinnamon
  • 1/2 tsp of sea salt
  • (Optional 1/2 scoop of protein powder- about 20g)
  • 1 cup shredded  coconut
  1. Chop the dates on a chopping board.
  2. Place cashew nuts in a food processor and pulse until finely chopped, add the dates and mix with the nuts first, then add tahini, vanilla, cinnamon and salt (optional to add protein powder).
  3. Process everything well in the food processor until it becomes a  smooth, sticky dough, if the dough is too dry, you can add another 1 or 2 dates, a bit of water or a tbsp of coconut oil.
  4. Transfer into a bowl and mix through with a spoon or using your hands.
  5. Portion the dough with a small spoon and roll into balls with your hands.
  6. Transfer into a bowl with shredded coconut and coat the bliss balls in coconut.

Recipe makes about 15 bliss balls. Keep them in an airtight container in the fridge, they keep for about a week (not in my household 😉  Enjoy!

Almond Butter and Smoothie Recipe

Hello guys,

Today, I want to share one of my favourite recipes: Almond butter is quick and easy to make and a very versatile healthy snack. Almonds contain lots of healthy fats, protein, magnesium, vitamin E and fibre but most of all this vegan recipe it’s super yummy! Scroll down for the details and enjoy…

almondbutter

Here’s what you need:

  • A high-speed blender (I use an Optimum blender)
  • 2 cups of dry roasted almonds
  • 1 banana
  • Protein powder of your choice
  • 2 cups of almond milk (or other vegan milk of your choice)
  • Half a tsp of cinnamon (or more if you you are addicted to cinnamon like me 🙂

Pour the almonds into your blender and pulse a few times before setting the blender on the highest speed.  I buy dry roasted almonds but you can also roast natural almonds in the oven, let them cool and then start your almond butter. If you use natural almonds you have to add some oil to the mixture. I personally prefer the dry roasted almonds. It gives the almond butter a very rich and toasty flavour.

Blending your almonds, they will pulverise first and then release their oil after a couple of minutes (time depends on the strength of your blender). It should take about 4 minutes. Use the tamper of your blender to push the mix down a few times.

The almond butter is ready when it has an even, creamy consistency but still has some crunchy almond bits in it. If you like it creamier, blend until it’s got your preferred consistency.

I use a silicon scraper to transfer the nut butter into an airtight container. Although the silicon scraper gets the sticky nut butter out of the bottom of the blender quite well, I have my own trick to not waste any of the delicious butter. This is my favourite part of the process:  Once I have about a tablespoon of butter left in the blender, I make a delicious vegan smoothie by simply adding one banana, 2 cups of nut milk, a scoop of protein powder and a tsp. of cinnamon. So good!

Almond butter is a great alternative to peanut butter and there is no sugar, salt or other oils added in this recipe. My favourite afternoon snack is spreading almond butter on apple slices and sprinkle over cinnamon – lots of cinnamon of course 🙂

The almond butter keeps very well, you don’t have to keep it in the fridge because of its high fat content. But trust me, it tastes so good that you don’t have to worry how long it keeps in the pantry 😉 Enjoy ❤